Guides
How closet design and install works, step by step
A custom closet usually follows the same path: consult, measure, design, final price, fabrication, then install. If you know what happens at each step, it is much easier to avoid surprises and unnecessary upgrades.
The short answer: this is the usual order
Most custom closet and storage projects move through six basic steps: initial consult, site measure, design, quote approval, fabrication, and install. The exact timeline and who handles each part can vary by builder and area, but that is the normal flow for a reach-in closet, walk-in, pantry, garage system, laundry room, or built-in shelving.
ShelfGrove is a free matching service, not a closet company. We do not design, build, or install systems. We help you get connected with licensed, insured local builders so you can compare options, ask better questions, and stay in control of the materials, components, lead time, and all-in price before any work starts.
Before you start, it helps to know the three common system types. Wire is usually the lowest-cost option and works well where ventilation matters. Melamine or laminate is the value-to-look sweet spot for most custom closets. Wood or veneer is the premium choice for visible built-ins and higher-end walk-ins. Most builders price these systems by linear foot of wall, then add charges for drawers, pull-outs, premium finishes, lighting, islands, and removal of old shelving.
Step 1: the consult — decide what you actually need
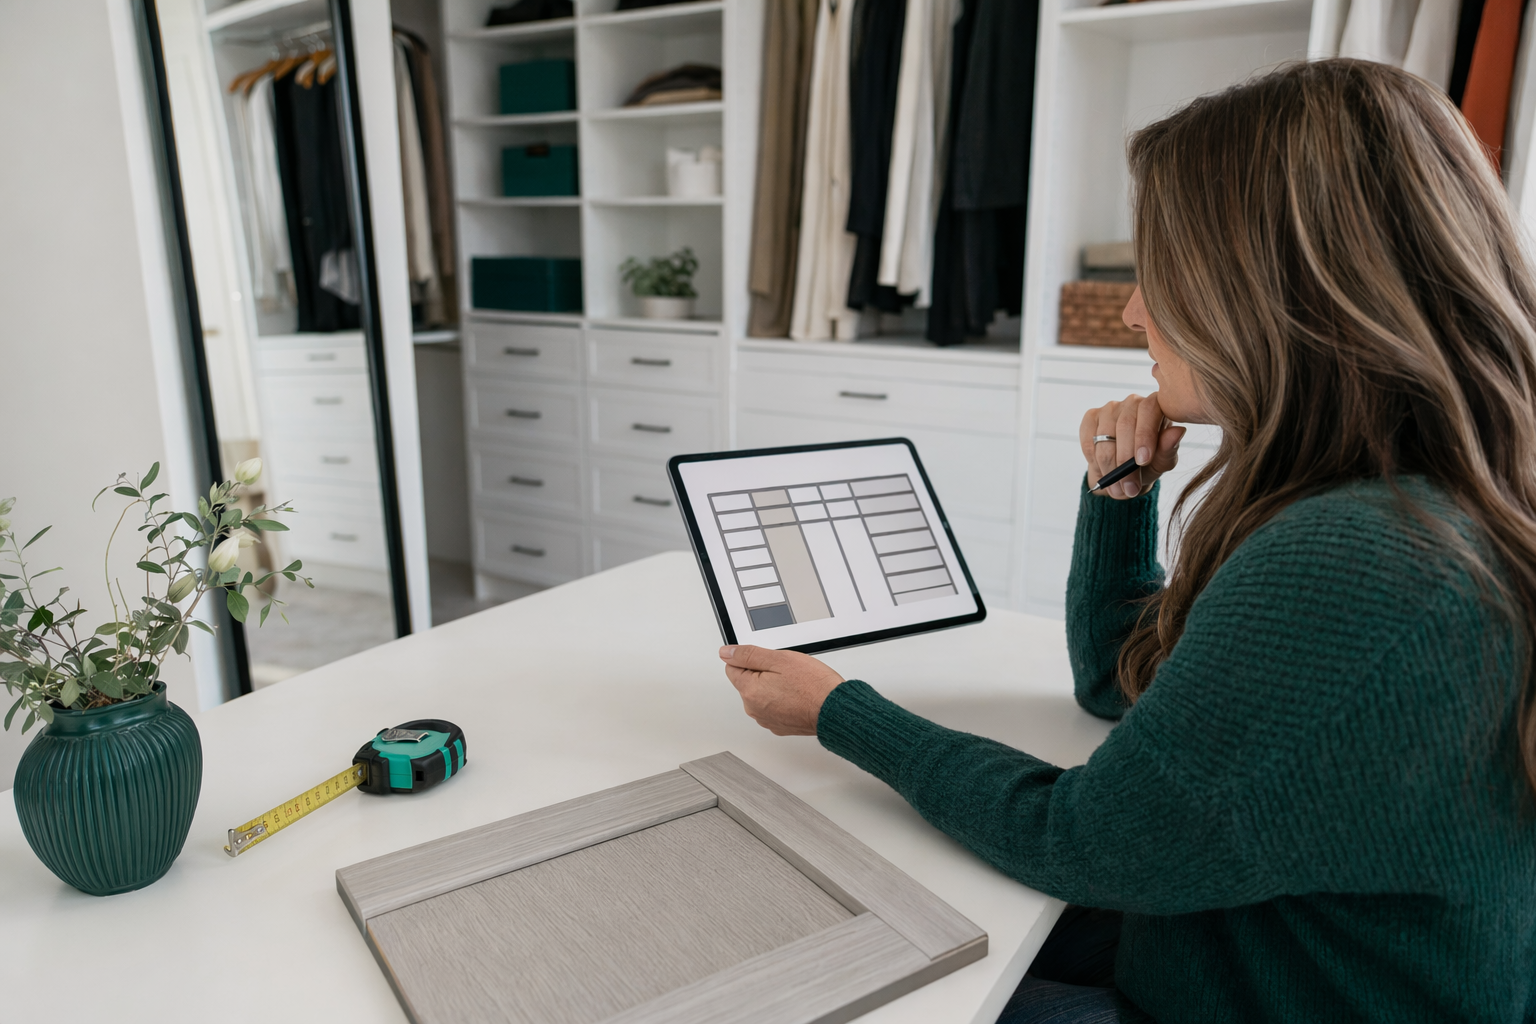
The first conversation is about the space, your storage problems, and your budget. This is where many people overspend, because they ask for a "dream closet" before they know what they really use. A good consult should get specific: how many long-hang sections, how many shelves, how many drawers, how many pairs of shoes, whether you fold sweaters, whether you want doors, and whether the system is for daily use or just overflow.
If you can, walk the builder through real counts. For example: "I need two double-hang sections, one long-hang section for coats, four drawers, and six shelves." That is much more useful than saying "I want lots of storage." The design gets better, and the price gets more honest.
This is also the time to choose the right system level. If the closet is inside a guest room or a basic reach-in, wire may be enough. If you want a cleaner finished look without jumping to premium pricing, melamine is often the practical choice. If the space is highly visible and you care a lot about furniture-like appearance, wood or veneer may make sense.
For rough planning only, many systems fall somewhere around these ranges per linear foot: wire about $80-$180, melamine about $150-$400, and wood or veneer about $300-$800+. Small projects can cost more per foot because setup, design, and install labor are spread over fewer feet. These are general ranges, not quotes.
Step 2: measuring — this is where the project becomes real
After the initial discussion, the builder usually measures the space. In some cases there may be a quick remote estimate first, but the final design and final price normally depend on an in-person measure. Walls are rarely perfectly square, floors can slope, and doors, trim, outlets, vents, attic accesses, and baseboards all affect the plan.
This step matters because a closet that looks simple on paper can get more complicated in the field. A soffit, low ceiling, return vent, or odd corner may reduce usable linear feet. That can change both the design and the price. If old shelving or builder-grade rods need to come out first, ask whether removal and patching are included. Removal of old shelving is a common upcharge.
General information only: if anything may involve electrical work, structural questions, wall changes, or permit issues, ask a licensed, insured builder and verify requirements locally. ShelfGrove does not give structural or trade advice, and you should confirm those details with the contractor and your local authority if needed.
Step 3: the design — review the layout, not just the picture
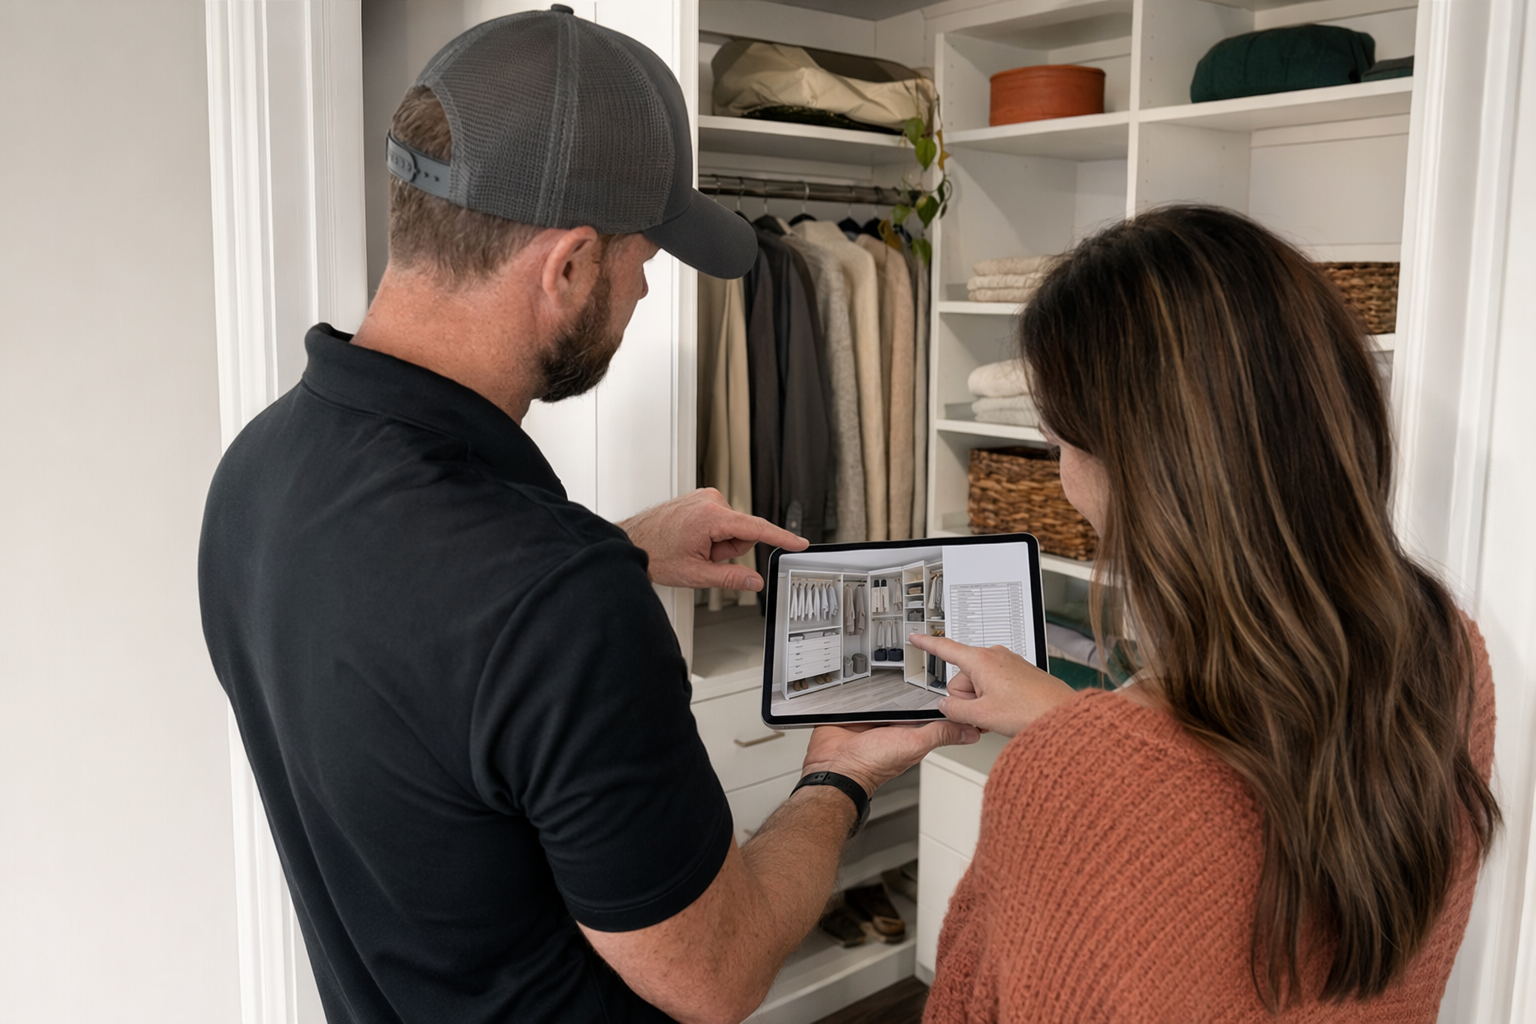
Once measurements are done, many builders will show you a drawing or 3D plan. This is the stage where a lot of people get distracted by the rendering and miss the practical questions. A pretty picture is not enough. Check the actual storage plan: shelf widths, drawer counts, hanging heights, hamper placement, shoe storage, and whether doors or drawers can open comfortably.
If you are comparing designs, compare them line by line. One builder may show a lower price because the design has fewer drawers, shallower shelves, less finished trim, or simpler hardware. Another may include more components in the base price. The only fair comparison is the all-in design scope.
Ask for the component list in writing. Count the expensive pieces, because those usually drive up the bill faster than basic shelves and hanging sections. Drawers and pull-outs are major upcharges. Soft-close hardware, premium finishes, lighting, islands, and decorative trim can also raise the total quickly. Add only what you will really use.
A simple reach-in might stay fairly basic: two to three hanging sections, five to eight shelves, and maybe two to four drawers. A walk-in can grow fast with towers, glass doors, a center island, valet rods, and specialty organizers. Those upgrades are not wrong, but they are where budgets often drift.
Step 4: final quote and approval — get the all-in price in writing
Before anything is ordered, you should see a final price tied to the final design. This is where you slow down and make sure nothing important is vague. The written quote should match the design and list the system type, finish, hardware level, major components, what gets removed, what gets installed, and what is not included.
A good quote should answer practical questions like these:
- What material is it: wire, melamine/laminate, or wood/veneer?
- How many linear feet are being priced?
- How many drawers, shelves, hanging sections, and accessories are included?
- Are soft-close hardware, trim, fillers, doors, and backing included?
- Is removal of old shelving included?
- Is delivery and installation included?
- Are taxes, disposal, and touch-up work included or separate?
For broad budgeting, many basic reach-ins may land around $1,000-$3,500, larger reach-ins and modest walk-ins around $2,500-$7,000, and more premium walk-ins or built-ins well beyond that. Garage, pantry, laundry, and home-office systems vary a lot depending on material, finish, and accessory count. These are only broad planning ranges, not quotes, and real pricing depends on system type, materials, accessories, area, and space size.
If you want to understand pricing before you talk to a builder, start with costs and browse more planning help in guides.
Step 5: fabrication and install day — what usually happens next
After you approve the design and price, the materials are typically ordered or fabricated, then an install date is scheduled. Lead times vary a lot by builder, season, material choice, finish color, and local workload. Custom parts, premium finishes, and more complex projects often take longer than a standard white melamine layout.
On install day, the crew usually removes old closet components if that was included, brings in the new parts, assembles the system, levels it, secures it, adds drawers and hardware, and then checks fit and function. A basic reach-in may be relatively quick. A large walk-in, garage wall, or room-sized built-in may take longer. Do not assume patching, painting, electrical work, or floor protection beyond basic install is included unless it is written into the quote.
Before the crew leaves, open the drawers, test the doors, check shelf placement, and compare the finished work to the approved design. If anything looks different, ask about it right away. It is easier to clear up missing parts or substitutions at handoff than weeks later.
What can go wrong, and how to avoid the usual surprises
Most problems are not dramatic. They are usually small mismatches between what the homeowner thought was included and what the builder actually priced. The safest way to avoid that is simple: get the all-in scope in writing, compare designs carefully, and do not rely on verbal promises.
Here are the most common surprise points:
- Too many accessories added late in the process
- A quote that does not include removal of old shelving
- Premium finish upgrades chosen after the first estimate
- Drawers and pull-outs multiplying during design revisions
- Lighting assumed by the homeowner but not included by the builder
- Lead time changing because materials are backordered
- Small room dimensions making the cost per linear foot higher than expected
You stay in control by keeping the project simple at first, then adding only the pieces you know you will use. If you are just starting, browse spaces to think through your room type, or get matched if you want ShelfGrove to connect you with licensed, insured local builders. The service is free for the customer, and we only collect contact and project details like your name, phone, optional email, the space, ZIP code, and preferred language.
A custom closet is usually consult, measure, design, written price, fabrication, then install — and you avoid surprises by checking the component list and all-in price before work starts.
Common questions
Do closet companies usually give a free design consult?
Many builders offer an initial consult or estimate, but what is included varies. Some include measuring and a design drawing early, while others only finalize those after the project moves forward.
How long does a custom closet project usually take from start to install?
It varies by builder, area, material, and complexity. A simple project can move faster than a large walk-in or built-in with premium finishes, custom parts, or lighting, so ask for the expected lead time before you approve anything.
When do I get the final price?
Usually after the space is measured and the design is finalized. The most reliable number is the written all-in price tied to the actual component list, not the first rough estimate.
What parts of a closet design usually cost the most?
Drawers, pull-outs, soft-close hardware, premium finishes, lighting, islands, and decorative trim are common cost drivers. Basic shelves and hanging sections are usually the most budget-friendly way to add storage.
Is pricing always per linear foot?
Many builders use linear foot pricing as a planning tool, but the final project price still depends on the system type, materials, accessory count, finish level, area, and room size. Per-foot ranges help you budget, but they are not quotes.
Should I get more than one design or quote?
Yes, if you can. Comparing two or three written designs can show whether one builder is leaving out components, using different materials, or charging extra for items another includes.